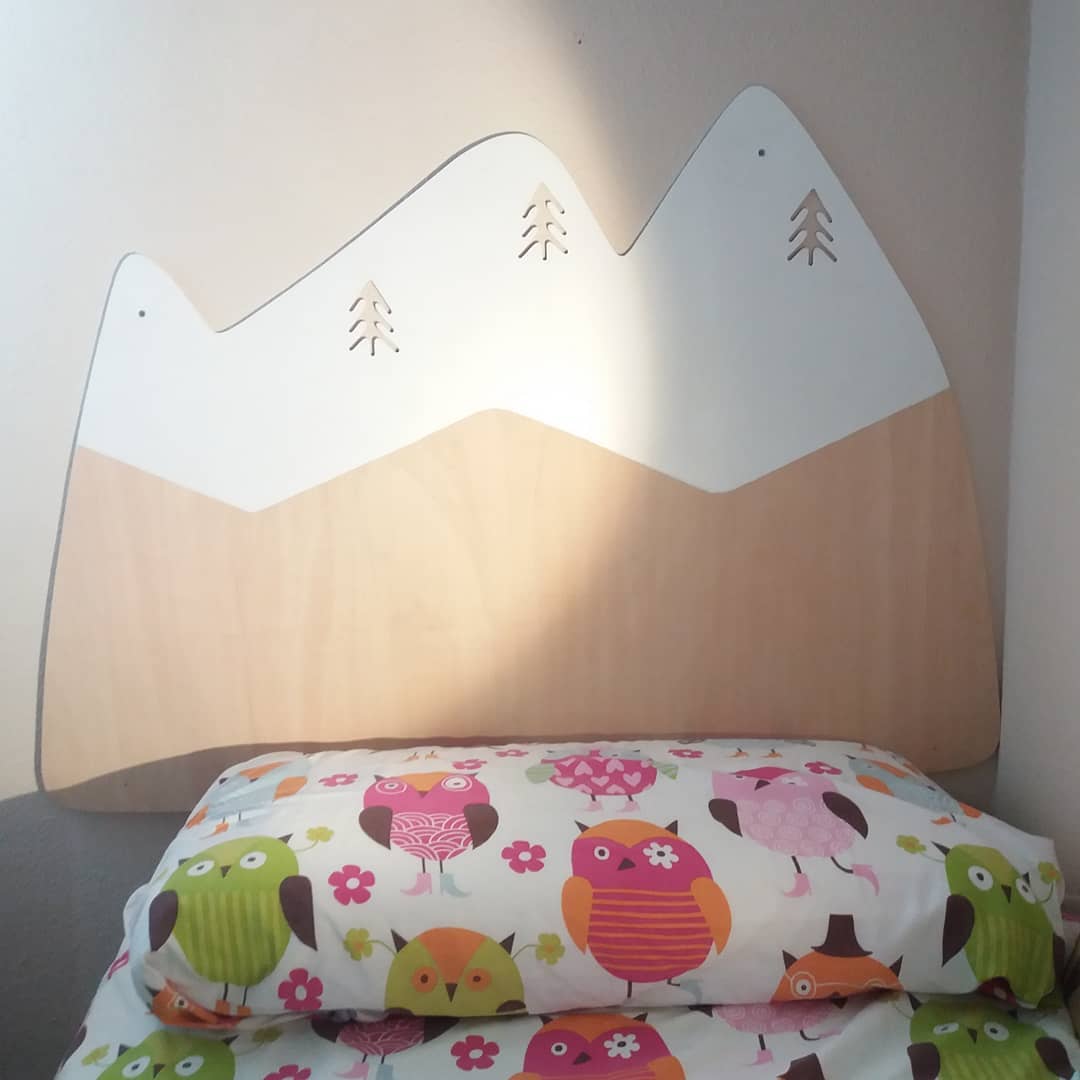
I needed to finish the kids decoration in my daughter’s bedroom, which had not headboard when we changed her bed.
In this post I show you how I finished the first mountain headboard that we made in stratified wood.
My initial idea was to paint it completely white, but then I thought about making the snowy peaks and leaving the bottom part in wood, simply varnishing it.
It is easy, very easy, even for those who want to do it in 2 colors and not to let the wood look at the bottom does not have any complications.
You will need:
- mountains shape headboard : you can choose it to be made of dm ( if you are going to lacquer the whole headboard is the best option) of laminated wood (if you want to see the vein is the only option) or you can choose it in white, which means that we finish it for you.
- acrylic white paint or white chalk paint for the snowy peaks.
- masking tape, also called protective tape, you can find it in any DIY center.
- foam brush or foam roller if you use acrylic paint, or special brush for chalk paint if you use chalk paint.
If you want to have a color at the base of the mountains and another at the summit, first add the color of the base, and once it is dry, well dry, proceed to make the snowy peaks of your headboard so, as I explain:
Now comes the fun, you will see how easy it is to do it:
Choose how far the snow will go, and start placing the masking tape, without fear, you can cut it wherever you want as it is paper, and so you can cut and add pieces as you want to make the snow contour.

If you want to make the “corners” rounded as we did, it is very easy, you just have to add little pieces of masking tape and change the angle of each band that you put, so that the top of the tape, which the snow profile marks you, it is as rounded as possible.

Once you have done this you can already paint, if it is acrylic paint I recommend roller or foam brush.
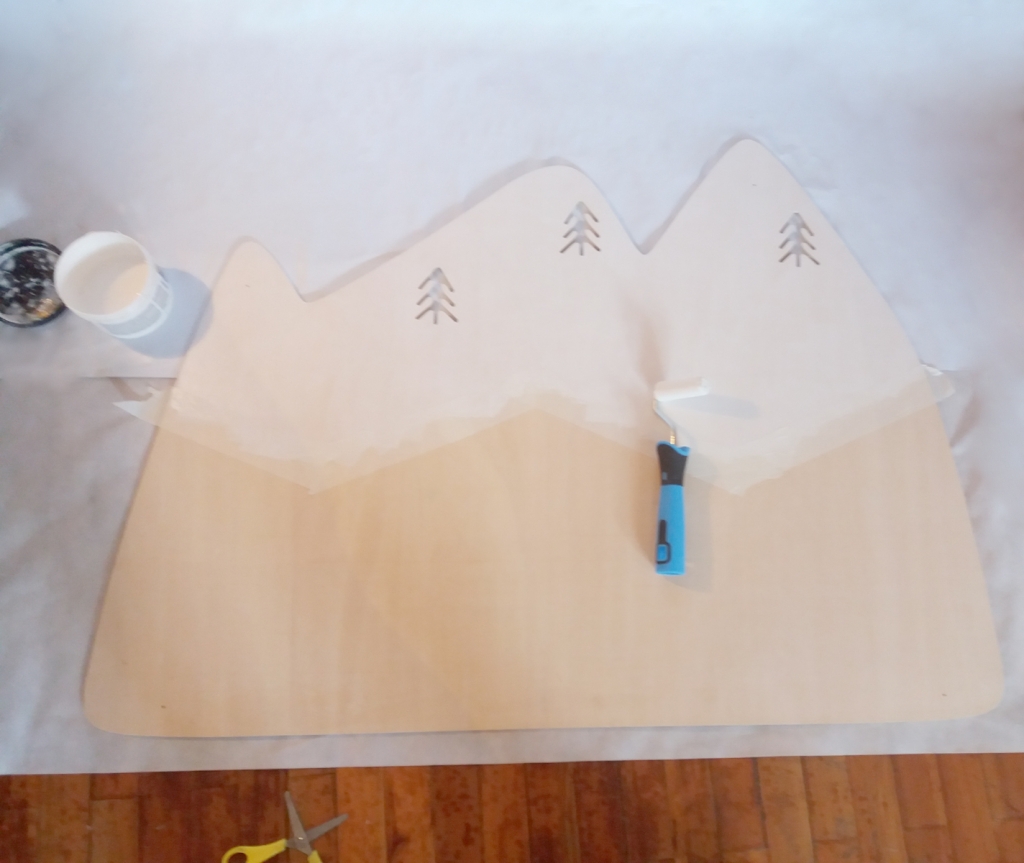
Let it dry and give it at least one more layer in case the paint is acrylic, even if the masking tape you use is wide, be careful not to get too excited with the brush or roller and move from the masking tape, it’s easy paint the bottom part …
Remove the bodybuilder’s tape slowly, especially in curves it is easy to tear off a little bit of paint, so in curves you have to be very careful, even help with a cutter would be convenient, since the paint adheres equally to the wood and the tape, creating a piece, which in curves becomes more difficult to separate, but it is easier to make it than it seems.
And ready! just hang it and perfect….
You can paint it in the color you choose, in black looks perfect…
Dont forget to SUSCRIBE TO OUR NEWSLETTER
…or you can follow our instagram:


Es una idea genial. Enhorabuena por el resultado