
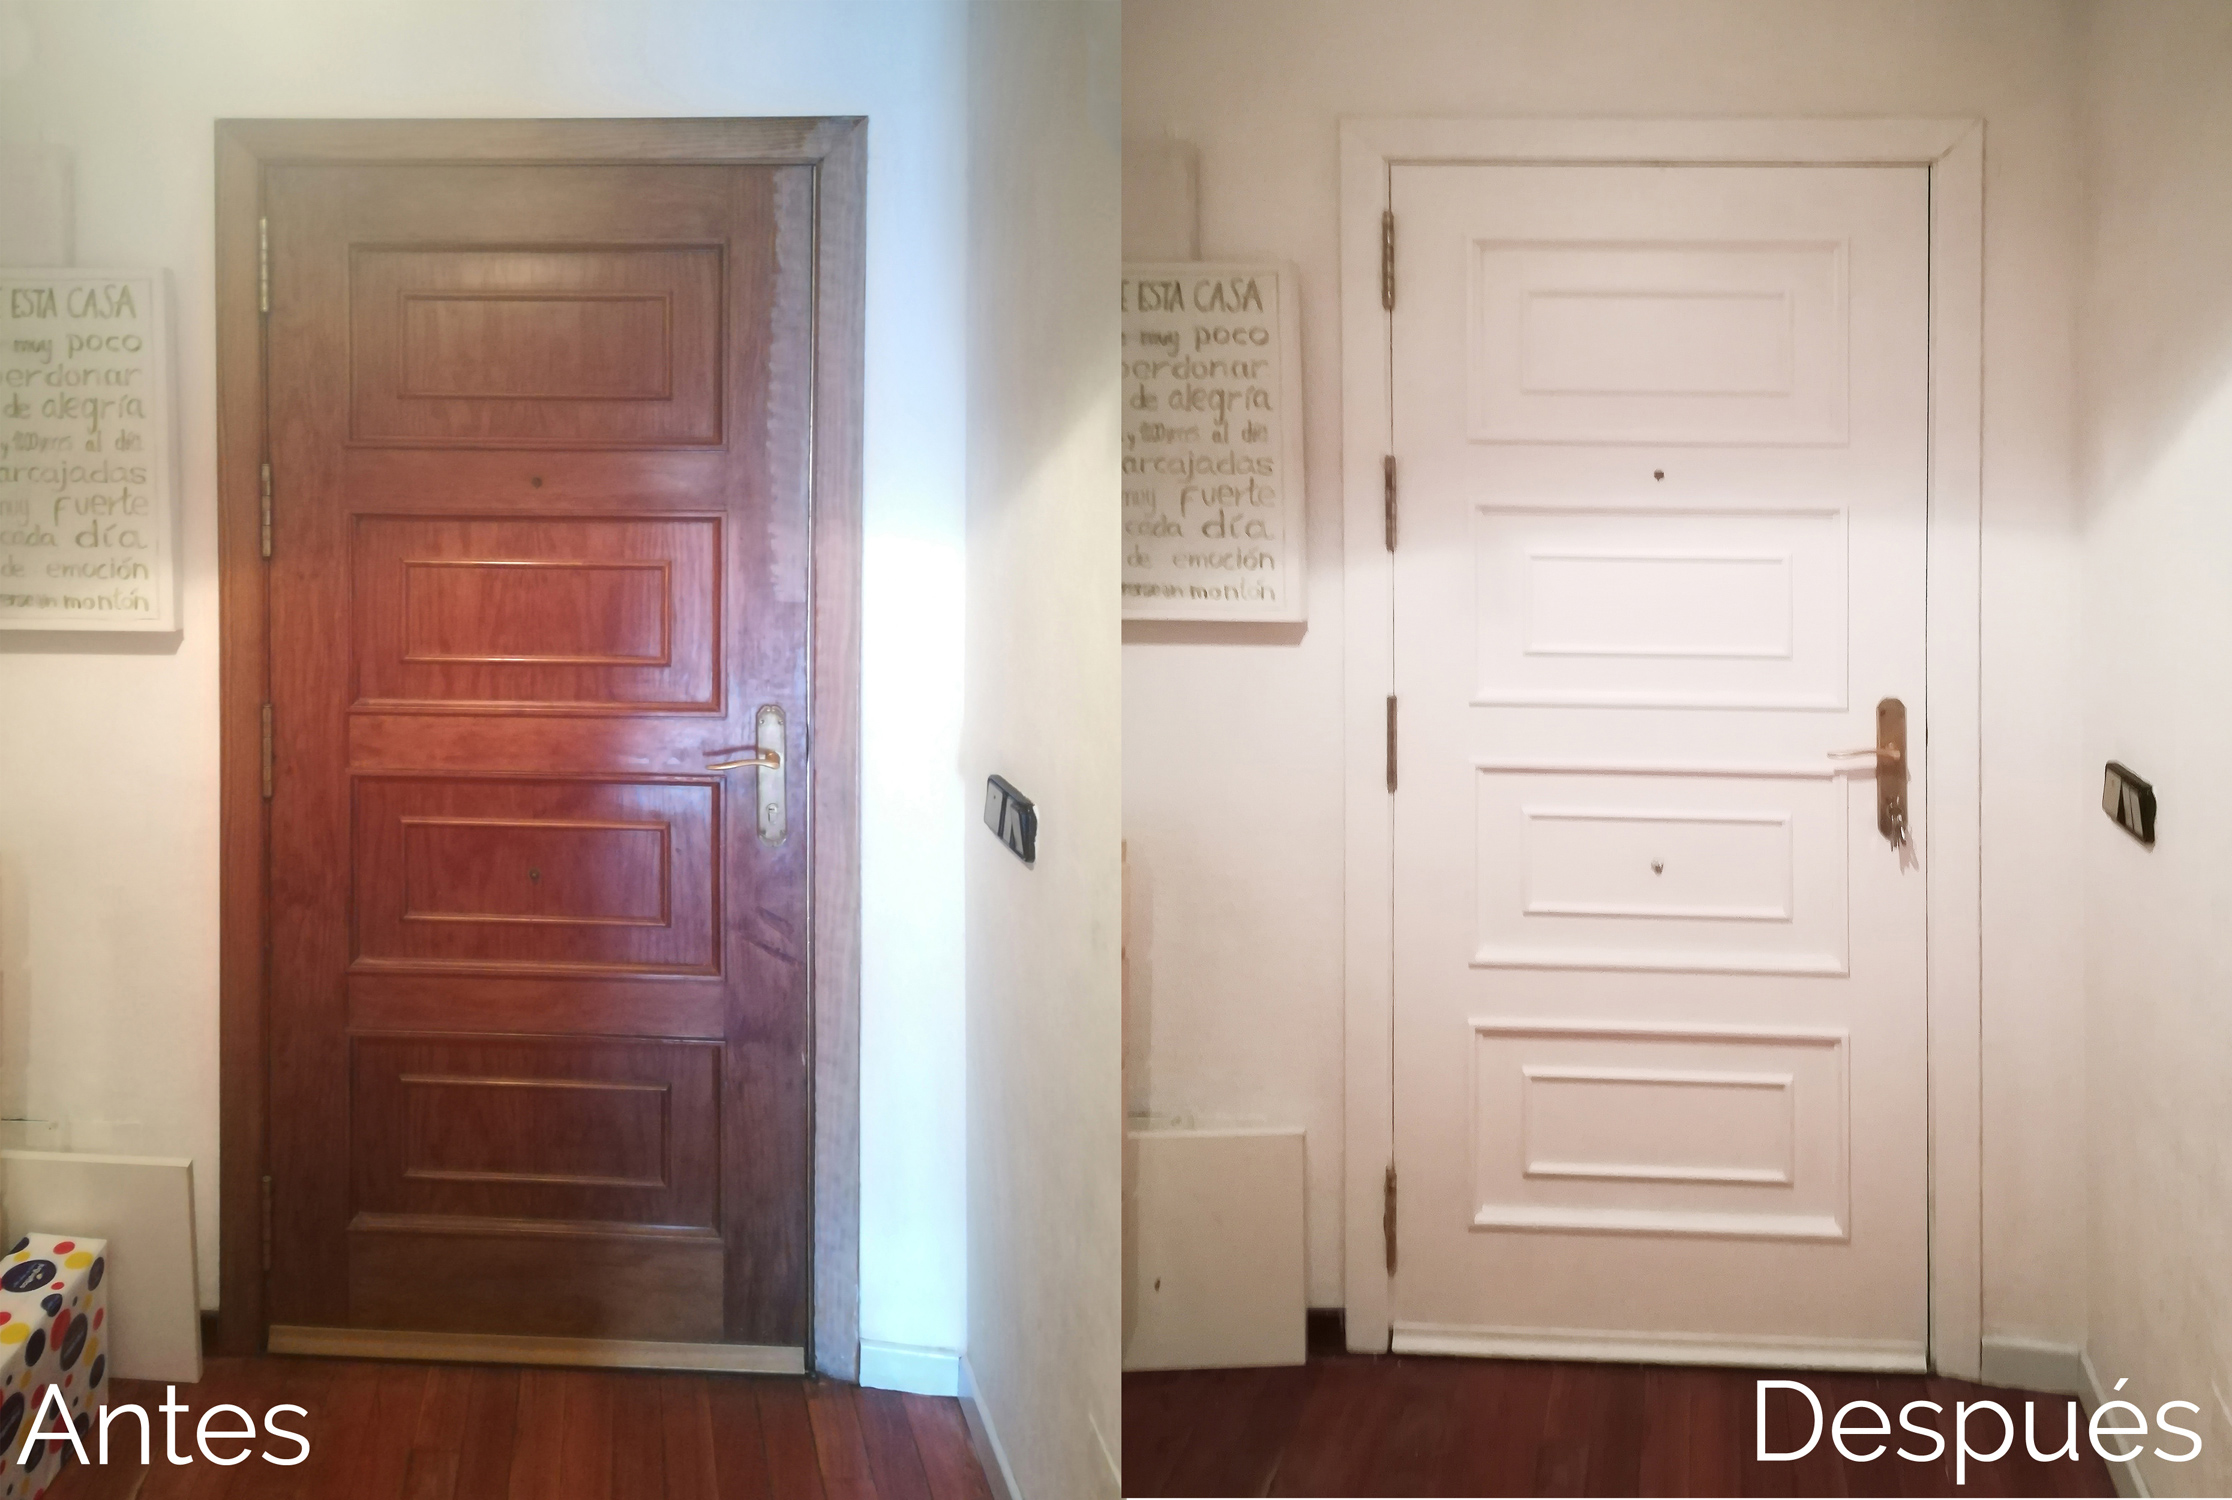
If your house is old and for rent (like mine) you will want to make many changes that you can not do, because the owner does not want to, or you do not want to do, because you will not invest in improving a house that is not yours.
Renovate the dark and old baseboards of my rental house was in this category of problems, I was consumed inside seeing how easy it could be to improve the overall appearance of the house just by changing the baseboards, and my mood was getting worse. It may sound a bit freaky, just as I am hypersensitive to things that I do not like in decoration, or I am compulsive obsessive and obsessed with small things, everything can be, but I have found the solution to this problem, so if you are in the same Situation keep on reading!
I found the material to renovate baseboards quickly, cheaply, and removable with a perfect look, like matt lacquer: the raw vinyl.
As it is removable makes it the perfect alternative if your house is for rent, if the owner does not like it, it is removed and ready, you have not invest almost nothing and you have stopped seeing those damaged baseboards during the time you enjoy the home!,

Step1 renovate baseboards
I had already used it to renovate a wardrobe, and the kitchen friezes and bathroom ,that had no curves or difficult profiles, so it took me a while to decide to try it on the baseboards of the whole house, even the stairs I renewed with this material!!!
Warning, it is addictive and you end up wanting to vynil up the whole family …
P
p
p
p.
O
p
Step 0: As always, before every reno, you must clean the surface to leave it free of any dust.
p
p
Step 1 : Cut strips of the length you need and a width of 1 cm or 2 more than you need, try to make the cut as straight as possible and you will save time later. Glue them on the baseboard removing the back protector trying to make it as aligned as possible with the floor.
.
.
.
Step 2:
-
- Step 2 renovate baseboards
-
- Step 2: renovate baseboards
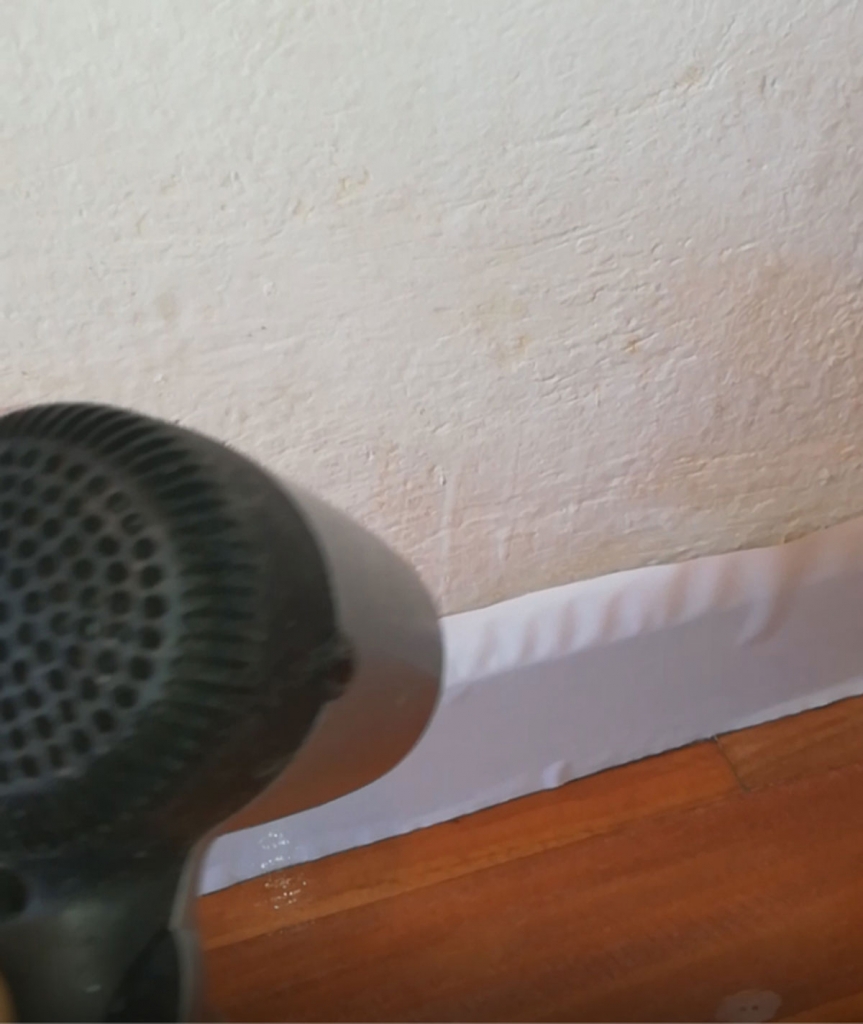
With the help of a hair dryer, we do not need to be industrial, we get the vinyl to soften and take the shape of the molding, as we apply the heat we shape it with a spatula or finger, it does not burn, so You can do it with your hands, but with the spatula you can also smooth the rest of the surface, at least in my case there were several nails and irregularities that I managed to save with the spatula.
You probably have left over material remaining on the wall once you have achieved that the base is completely covered and uniform.

Paso 3: renovate baseboards
.p .
p
.p .
p .
p .
p
.p .
p
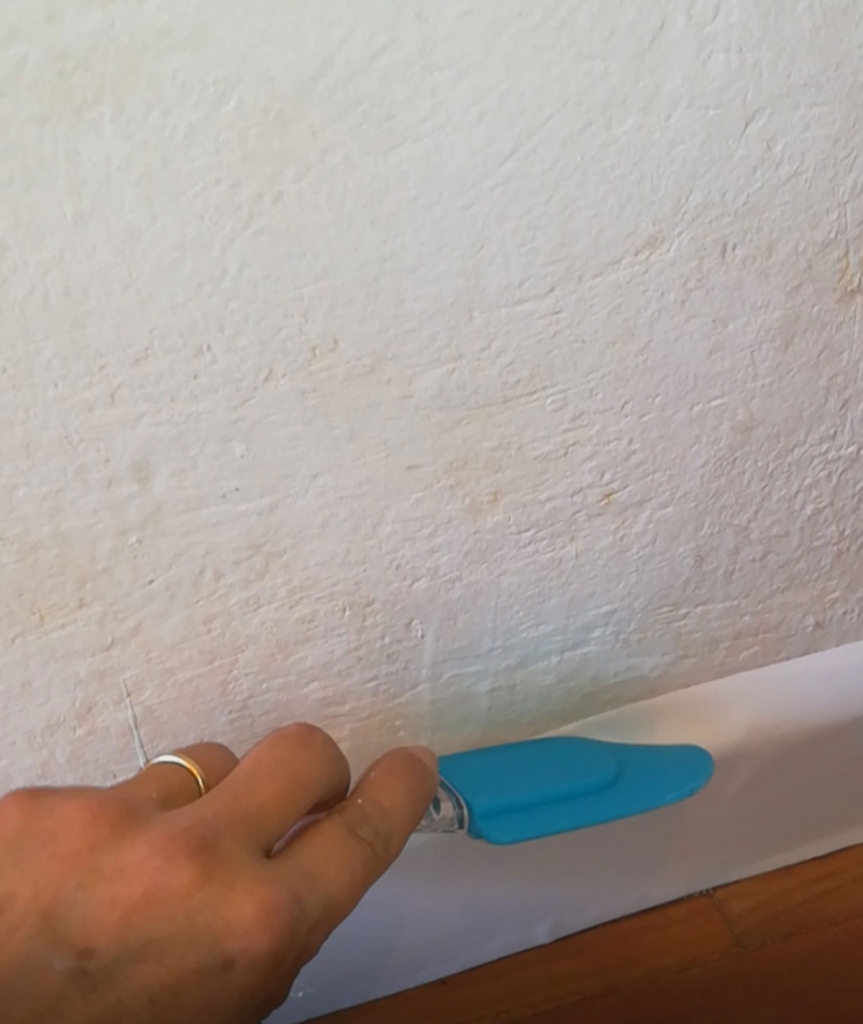
Step 3: With the help of a cutter we finally cut the excess material, if you had cut as straight as possible the part closest to the floor, you will only have to cut the part that sticks on the wall, this step is so easy that you do not you believe it, since you use the little hole that is between the base and the wall, so it is almost impossible for the cutter to go away, it is as if there were a channel and it flows freely.
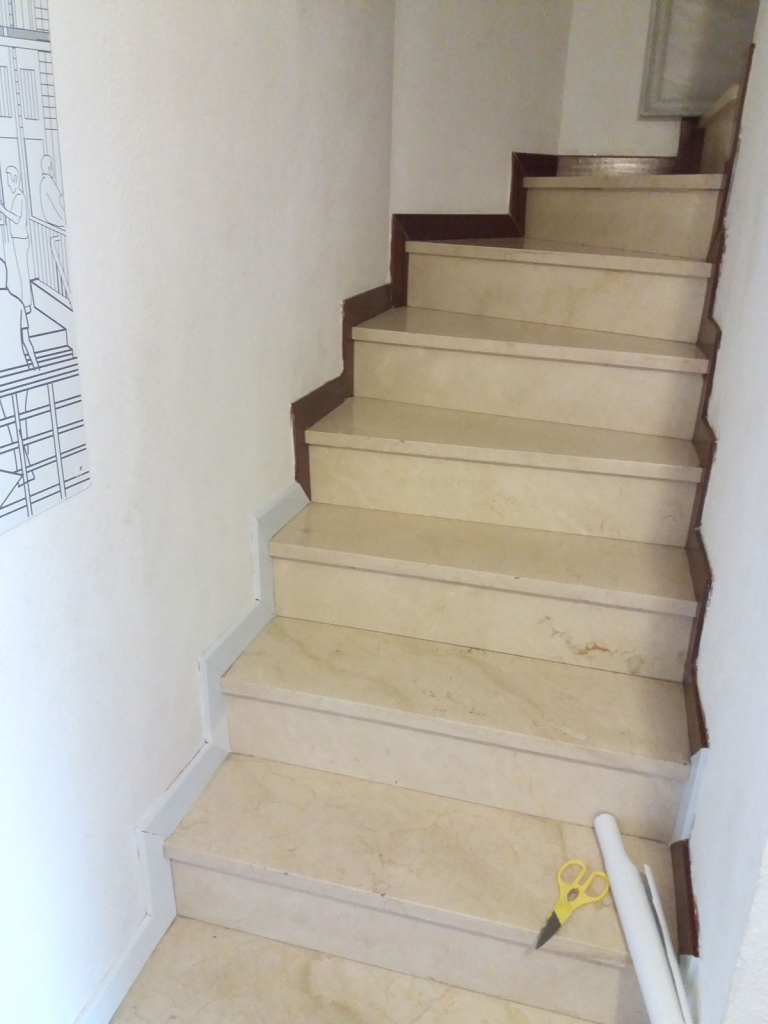
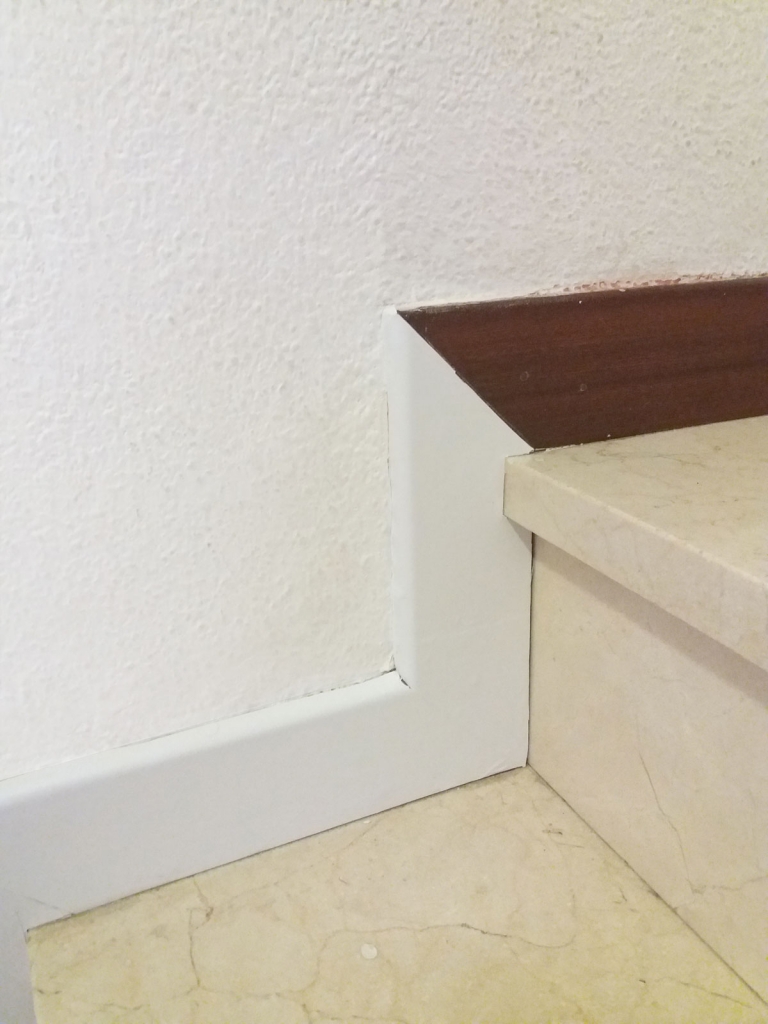
I liked it so much that I did it with the baseboard of the stairs, this is heavier to do, because there are angles everywhere and you have to cut a lot of small pieces, but I assure you that it was worth it.
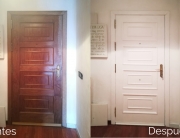
Now it’s all more luminous, it seems new and clean, and as for the cleaning, after 4 months in which the floor has been scrubbed many times, there it is, unpolluted, as it is plasticized so it seems that I have profesional painted !!!
Dont forget to SUSCRIBE OUR NEWSLETTER
….or follow us on instagram:


Leave A Comment